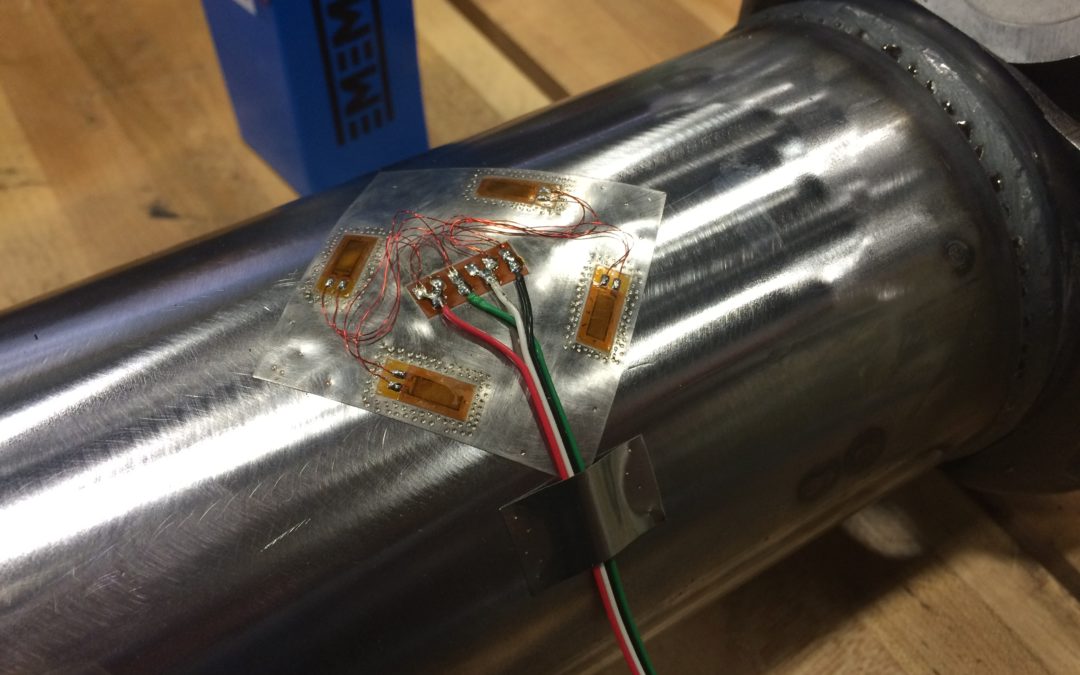
One of the most common methods for measuring torque on an existing shaft is to use a torque telemetry system. The primary advantage of these systems is that they do not require shaft modification and can be easily connected to a strain gage that is attached directly to the shaft. As with any installation, the primary concern for users is to reduce the downtime of their equipment, which means users are looking for the fastest gage installation method possible without sacrificing accuracy. This is where the debate of using weldable vs bondable strain gages begins. In this blog, we discuss the advantages/disadvantages of each method, and conclude with our recommendations based on over 40 years of expertise in the field.
What is the difference between a weldable and a bondable strain gage?
Both types of gages resolve strain (and corresponding measurements) to a very high level of accuracy, with the primary difference being the method by which they are physically attached to the shaft. Weldable strain gages are gages that are pre-installed on a small piece of shim-stock that can be readily welded onto the shaft. Bondable strain gages eliminate the shim and are designed to be bonded/glued directly onto the shaft surface using an adhesive, usually sold as part of an application kit.
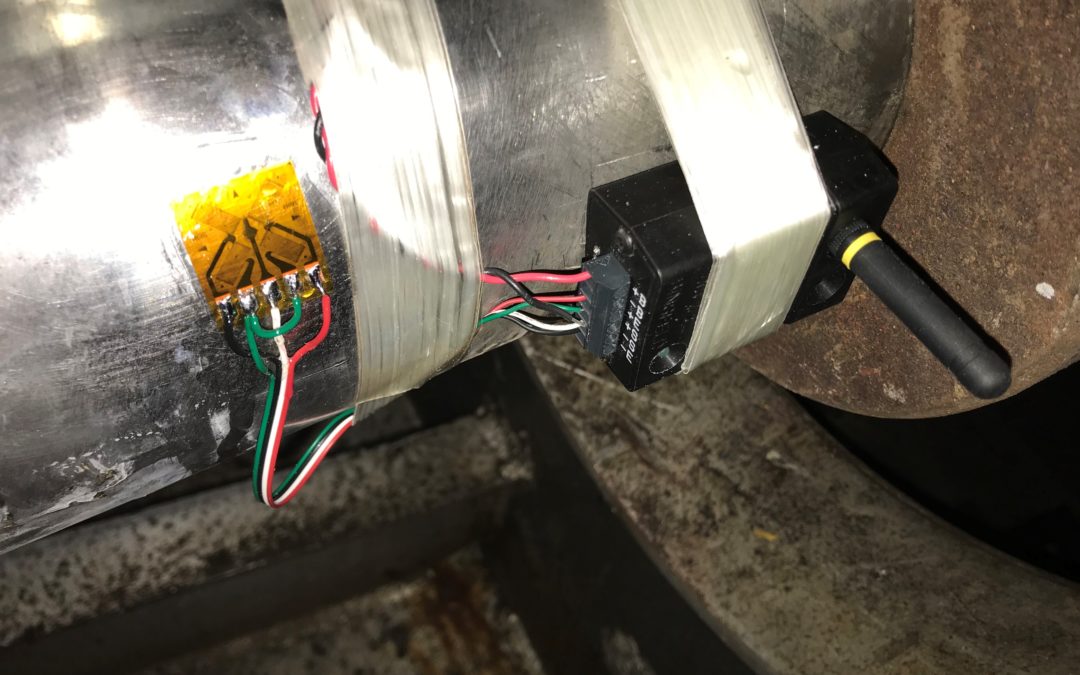
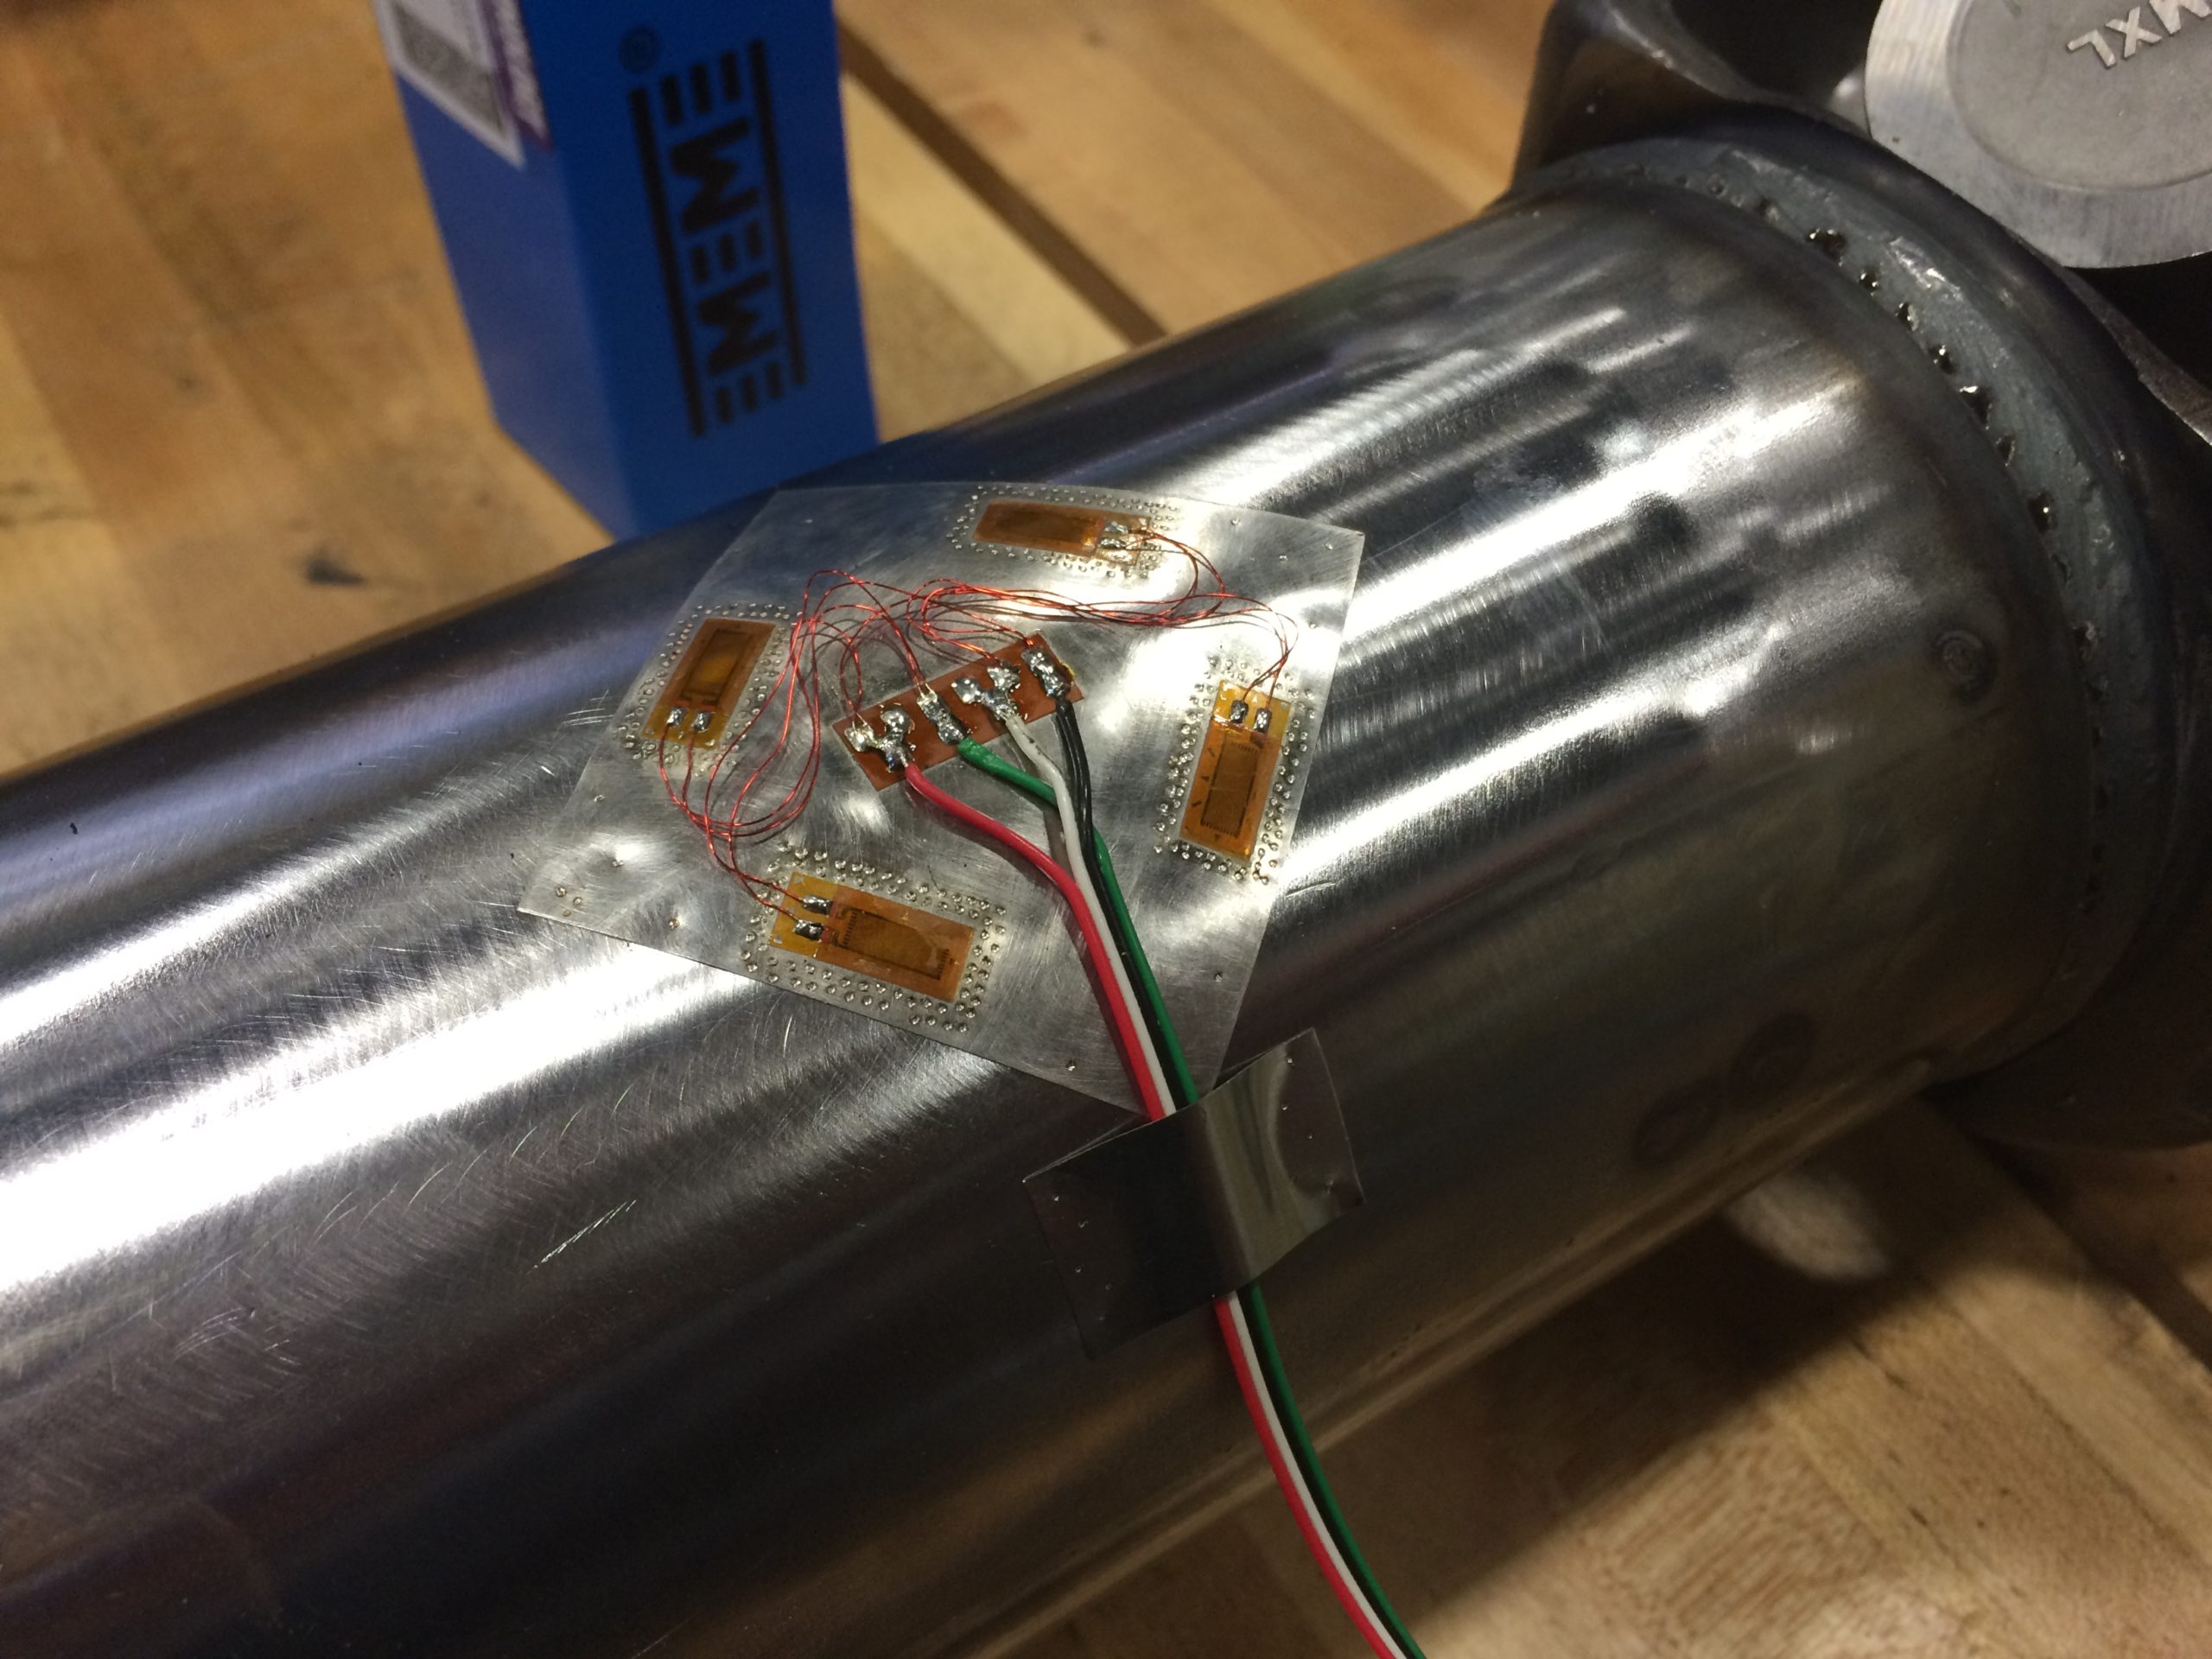
Figure 1. Bonded gage installation (left) vs a welded gage installation (right).
Should I use a bondable or weldable gage for my application?
Determining the appropriate type of gage (and method of adhering the gage to a shaft) depends on a variety of factors including the application environment, available set-up time, and cost-sensitivity. The idea of simply welding a gage to the shaft, on the surface, seems much more appealing than bonding a gage to the shaft. That being said a weldable gage set-up can induce some inaccuracies and requires the use of a welder which is considerably more expensive than an application kit. We compare both of these methods further below.
Installing Weldable and Bondable Gages
The installation of a strain gage is usually the most time-consuming part for measuring torque on a shaft without shaft modification, and can be the biggest hurdle for people who have limited experience installing strain gages. Naturally, the question then becomes, what type of gage is easier to install? Unfortunately, the answer is not so straightforward. To further discuss this, we walk through the three primary considerations of an installation: shaft surface preparation, sensor configuration, and sensor installation.
Shaft Surface Preparation
For any strain gage application, the first step is to prepare the shaft surface for installation of the gage. How to do this is different depending on whether a weldable or bondable gage is being used.
For weldable gages, the most critical part of shaft preparation is ensuring that an electrical connection between the shim and shaft is solid. Furthermore, since a shim is welded on to the shaft, the imperfections on the shaft do not have as much influence on accurate torque measurements. As such, minimal sanding is required to get a shaft surface that is smooth enough to weld to. The result is less time sanding the shaft.
Bondable Gages, on the other hand, require that the surface be extremely smooth. This is because any imperfection, such as a pitted shaft, can prevent the gage from reacing authentically to the stress in the shaft. The gage is more sensitive to these imperfections since it is not mechanically fastened to a shim that is bonded on to the shaft. In order to properly prepare the shaft, a combination of sand paper and surface prep chemicals must be used, which add to the overall installation time. Furthermore, the chemicals used have a shelf life 6 months-1 year, which means they need to be constantly re-purchased.
Sensor Configuration
A standard gage configuration for torque measurements on a shaft is a Wheatstone bridge (We go into this and more in our blog: What is A Strain Gage and How Does It Work?. This configuration enables accurate torque measurements, as it maximizes the change in electrical properties along the planes of highest torsional strain on the shaft. While both bondable and weldable strain gages can be configured to a Wheatstone bridge, they do this in slightly different ways.
In order to arrive at a standard Wheatstone bridge configuration with weldable gages, multiple gages must be used. One potential configuration is a pair of Tee-Rosettes, mounted and wired opposing each other. Another, is individual gages mounted at 90 degrees to create a Wheatstone bridge pattern. If individual elements are not placed 90 degrees apart and the wiring of equal lengths, then measurement accuracy is sacrificed. The inaccurate strain measurement is because the elements will not be “strained” accurately which will result in improper resistance readings.
Bondable strain gages have a much simpler configuration. The Wheatstone bridge configuration is manufactured into the sensor, removing inaccuracies due to wire length and orientation between gage arms.
Sensor Installation
Once the shaft is prepared and configuration is set, the next step is to physically install the sensor onto the shaft. This is fundamentally where the two different types of gages vary.
Weldable gages are, in theory, a very straightforward installation. They require the use of a special welder (such as the Model 700 from Micro-Measurements). The welder is used to “tack” weld the gage onto the shaft. Since the gage is mounted to a shim, keeping the installation environment free of debris/dust is not as critical, as long as a solid electrical connection is maintained between the shim and the shaft material (usually steel).
Bondable gage installation is a bit more involved. In order to adhere bondable gages to the shaft, an application kit with a variety of chemicals must be used (such as the GAK-2-200 kit from Micro-Measurements). In addition to sanding the shaft smooth, a neutralizer, catalyst, and bonding agent must be used in series to properly “glue” the gage to the surface. It is important that the area be kept out of the elements, and dust/debris reduced, in order to get a proper installation of the sensor to the shaft.
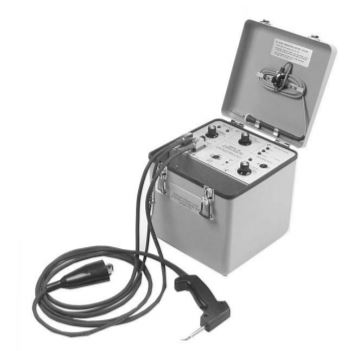
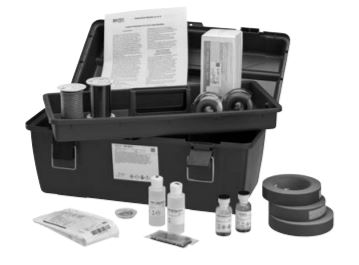
Figure 2. Weldable gages require welder (left) and bonded gages require a chemical application kit (right).
Accuracy
While both types of gages can resolve to a high level of accuracy, bondable gages are generally known to provide higher accuracy than weldable gages. The use of weldable gages is much more likely to introduce errors. The first reason being, as noted above, the set-up of the multi-gage Wheatstone bridge configuration is likely not to be as accurate as the single-piece bondable gage. Orientation of the arms and wire lengths are likely to be slightly off. Additionally, the gage is mounted onto a shim, meaning it is removed from the surface of the shaft and does not fully experience the strain at the surface. As an example, see below for a comparative test completed at Binsfeld Engineering. Notice how there is a small offset in the torque values between a bonded and a welded gage. This offset is due to variations in the set-up and the presence of the shim.
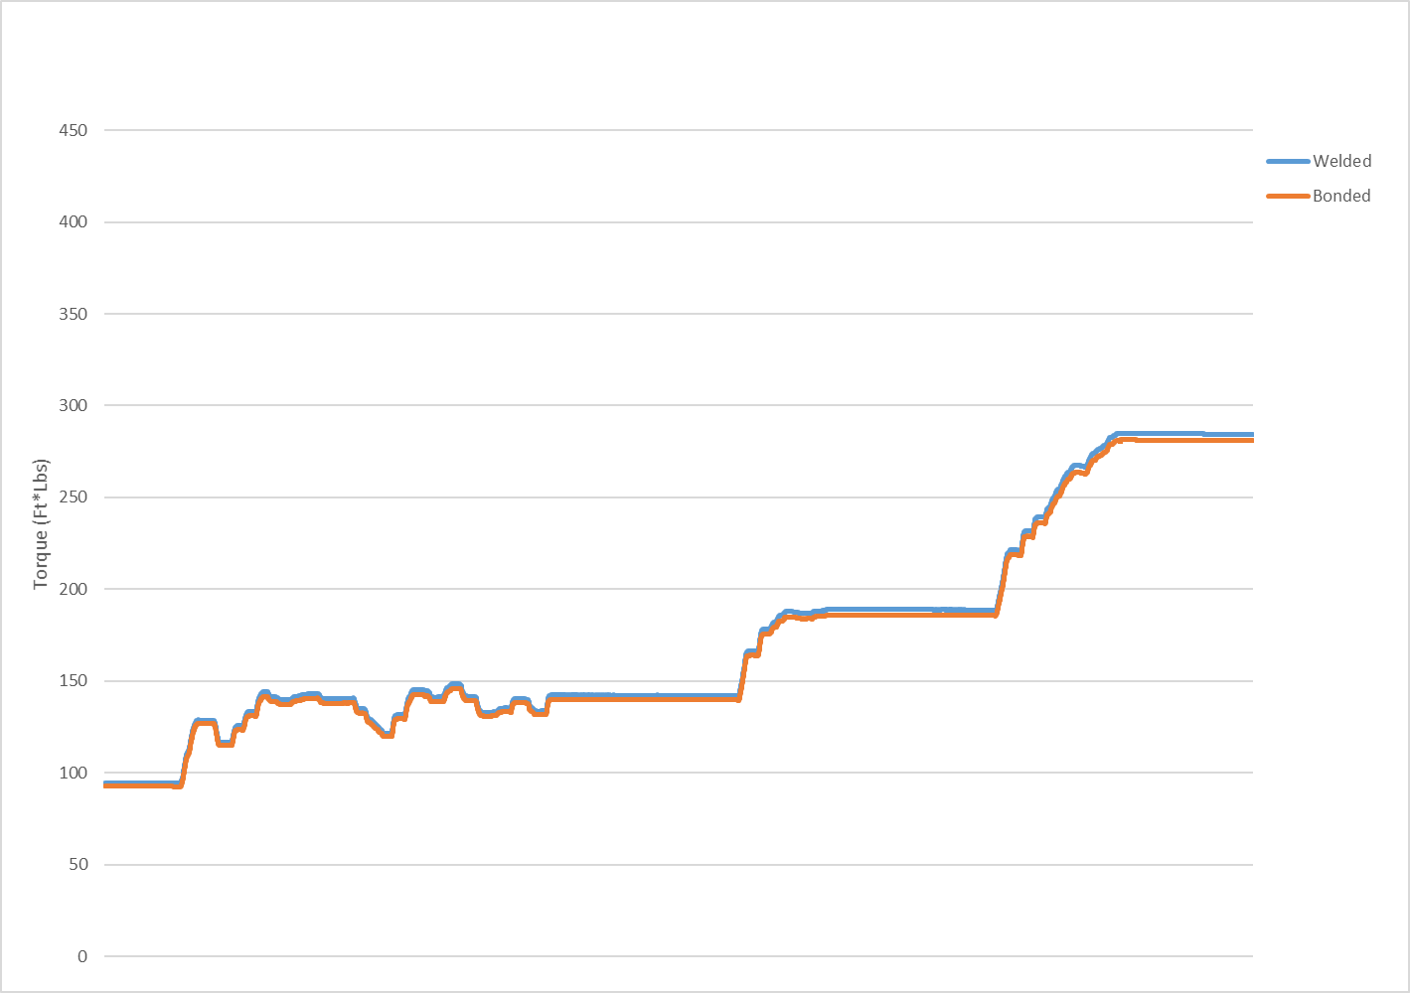
Figure 3. Comparative testing between welded and bonded strain gages.
Conclusions
As you can see, there are a variety of factors to consider when determining the appropriate bonding method to use for torque measurement on a rotating shaft. That being said, Binsfeld usually recommends that our customers use bondable strain gages for most installations. These standard torque gages (such as the CEA-06-250US-350) come pre-manufactured in the 4-arm Wheatstone bridge configuration, don’t require an expensive welder, and are inherently more accurate since they are bonded directly to the shaft surface without a shim layer. These benefits usually outweigh the downsides of having to work with chemicals and a more involved surface preparation process. Every application is unique, however, and we welcome the opportunity to help you with yours! Contact us today!
Relevant Links
Standard Weldable Gages from Micro-Measurements http://www.vishaypg.com/docs/11519/standard-weldable.pdf
Attachment Techniques for weldable gages http://www.vishaypg.com/docs/11131/11131B131.pdf
Model 700 Welder from Micro-Measurements http://www.vishaypg.com/docs/11302/700.pdf
Application Kits from Micro-Measurements: http://www.vishaypg.com/docs/11039/appkits.pdf

